How to Program an Allen-Bradley PLC — Getting Started
Allen-Bradley PLCs from Rockwell Automation are among the most widely used programmable logic controllers in Australian industry. This guide provides a practical introduction to programming ControlLogix and CompactLogix controllers using Studio 5000 Logix Designer software.
What You Need to Get Started
- Hardware: An Allen-Bradley ControlLogix or CompactLogix PLC with a power supply and I/O modules
- Software: Studio 5000 Logix Designer — available from Rockwell Automation under a FactoryTalk licence
- Communication: EtherNet/IP network connection or USB cable depending on your controller
- Background knowledge: Understanding of 24 VDC digital I/O and analogue signals is helpful
Step 1 — Install Studio 5000 Logix Designer
Studio 5000 is the unified programming environment for all Allen-Bradley Logix 5000 family controllers. Download it from the Rockwell Automation Product Compatibility and Download Centre (PCDC). A valid FactoryTalk licence is required for full use. A 90-day trial is available for evaluation purposes.
Step 2 — Create a New Project
Open Studio 5000 and select File then New. Choose your controller type (for example 1756-L83E for a ControlLogix 5580 series), enter a project name, set the chassis size and slot position for your processor, then click Finish to create the project.
Step 3 — Configure the Hardware Tree
In the Controller Organiser panel on the left, right-click the chassis and add the I/O modules installed in your physical system. For each module, set the correct slot number and verify the catalogue number matches your hardware exactly. This step is called hardware configuration or building the I/O tree.
Step 4 — Create Tags
Allen-Bradley PLCs use a tag-based addressing system rather than fixed memory addresses. Tags are named variables that store data. To create a tag, open the Controller Tags window and click New Tag. Assign a descriptive name, select the data type and set the scope to Controller or Program level as required.
Common Tag Data Types
| Data Type | Description | Example Use |
|---|---|---|
| BOOL | Single bit — True or False | Pushbutton input, motor run output |
| DINT | 32-bit signed integer | Counter values, integer setpoints |
| REAL | 32-bit floating point | Analogue values, temperatures, pressures |
| TIMER | Timer structure (PRE, ACC, EN, TT, DN) | On-delay timers, interval timers |
| COUNTER | Counter structure (PRE, ACC, CU, CD, DN) | Part counting, batch counting |
Step 5 — Write Ladder Logic
Ladder Diagram (LAD) is the most common programming language for Allen-Bradley PLCs. It resembles an electrical ladder diagram with horizontal rungs evaluated left to right and top to bottom each scan cycle. Key instructions include:
- XIC — Examine If Closed: Passes power when the referenced BOOL tag is 1 (true)
- XIO — Examine If Open: Passes power when the referenced BOOL tag is 0 (false)
- OTE — Output Energise: Sets the referenced tag to 1 while the rung condition is true
- TON — Timer On-Delay: Begins timing when the rung goes true; done bit sets after PRE milliseconds
- CTU — Count Up: Increments the accumulator on each false-to-true rung transition
Step 6 — Download and Go Online
Connect your laptop to the PLC via EtherNet/IP. In Studio 5000, go to Communications and select Who Active to browse available controllers on the network. Select your controller, click Set Project Path, then use the Download command to transfer your project. Set the controller to Run mode to begin execution.
Practical Programming Tips
- Use descriptive tag names that describe what they represent, not their address
- Add a comment to every rung describing its purpose
- Organise logic into separate routines for motors, interlocks, alarms and sequences
- Always test I/O in Manual or Maintenance mode before enabling automatic sequences
- Remove all tag forces before handing over a commissioned system
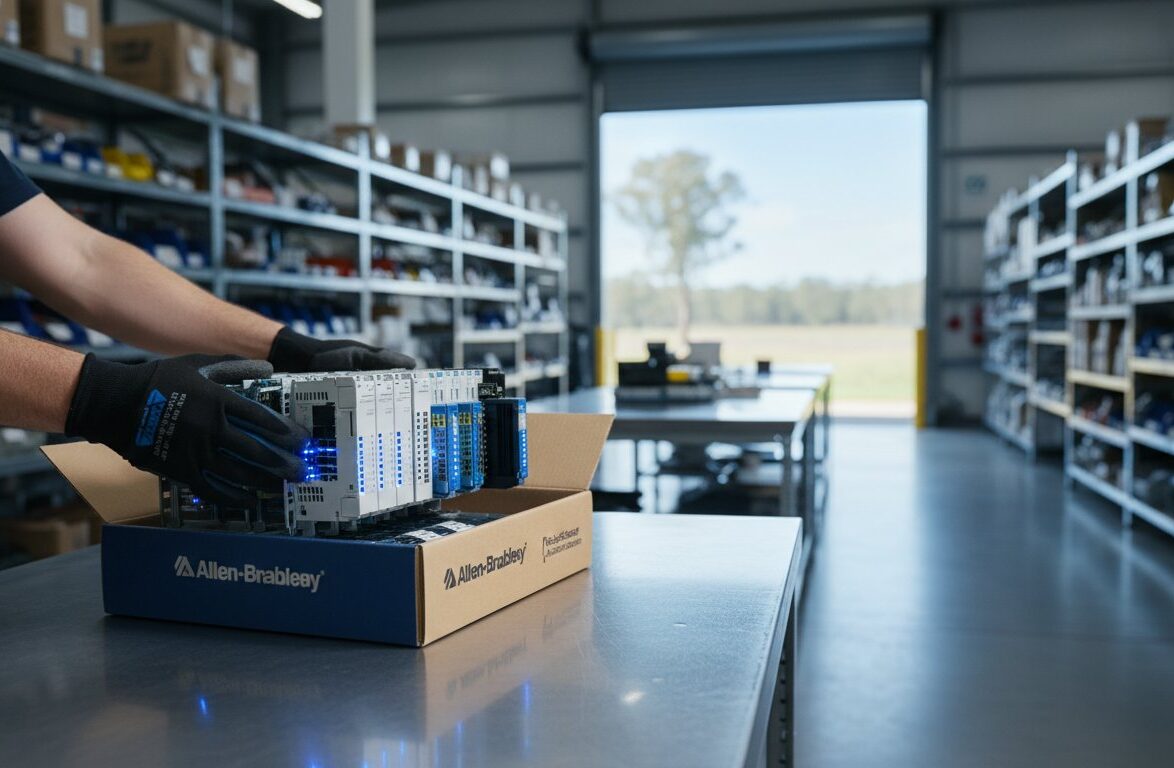
Allen-Bradley PLC Hardware at InstroDirect
InstroDirect stocks genuine Allen-Bradley ControlLogix 5580 and CompactLogix 5380 PLCs at parallel-import pricing — typically 25-40% below standard Australian distributor rates. If you are building a training rig or development system, contact our team for hardware recommendations and competitive pricing.
Related posts
Siemens TIA Portal Programming Basics: A Practical Guide for Engineers
What if you could master Siemens TIA Portal without paying the full “Australia tax” on S7 hardware?
It’s a common problem for Australian engineers….
Emergency Industrial Parts Supplier: Reducing Downtime in 2026
That 12-week lead time from your authorised distributor isn’t just an inconvenience. For a production line losing A$10,000 an hour, it’s a potential…
PLC vs DCS — What Is the Difference?
Programmable Logic Controllers (PLCs) and Distributed Control Systems (DCS) are both used to automate industrial processes, but they evolved from
Siemens TIA Portal Introduction Guide for Australian Engineers
Siemens TIA Portal (Totally Integrated Automation Portal) is the unified engineering software platform for Siemens S7 PLCs, HMIs and drives.
PLC vs DCS — What Is the Difference?
Programmable Logic Controllers (PLCs) and Distributed Control Systems (DCS) are both used to automate industrial processes, but they evolved from
Leave a Comment
Your email address will not be published. Required fields are marked *