PLC Maintenance Checklist PDF: The Engineer’s Guide to Industrial Reliability
Unplanned downtime in Australian heavy industry now averages A$32,000 per hour according to recent 2023 manufacturing benchmarks. You know that…
Unplanned downtime in Australian heavy industry now averages A$32,000 per hour according to recent 2023 manufacturing benchmarks. You know that…
Paying a 40% “authorized distributor” premium is a choice, not a necessity, for Australian manufacturers. Many owners believe high-end industrial…
A single legacy PLC module failing shouldn’t trigger a A$50,000 system rip-and-replace, but Australian OEMs often use End of Life (EOL) cycles to…
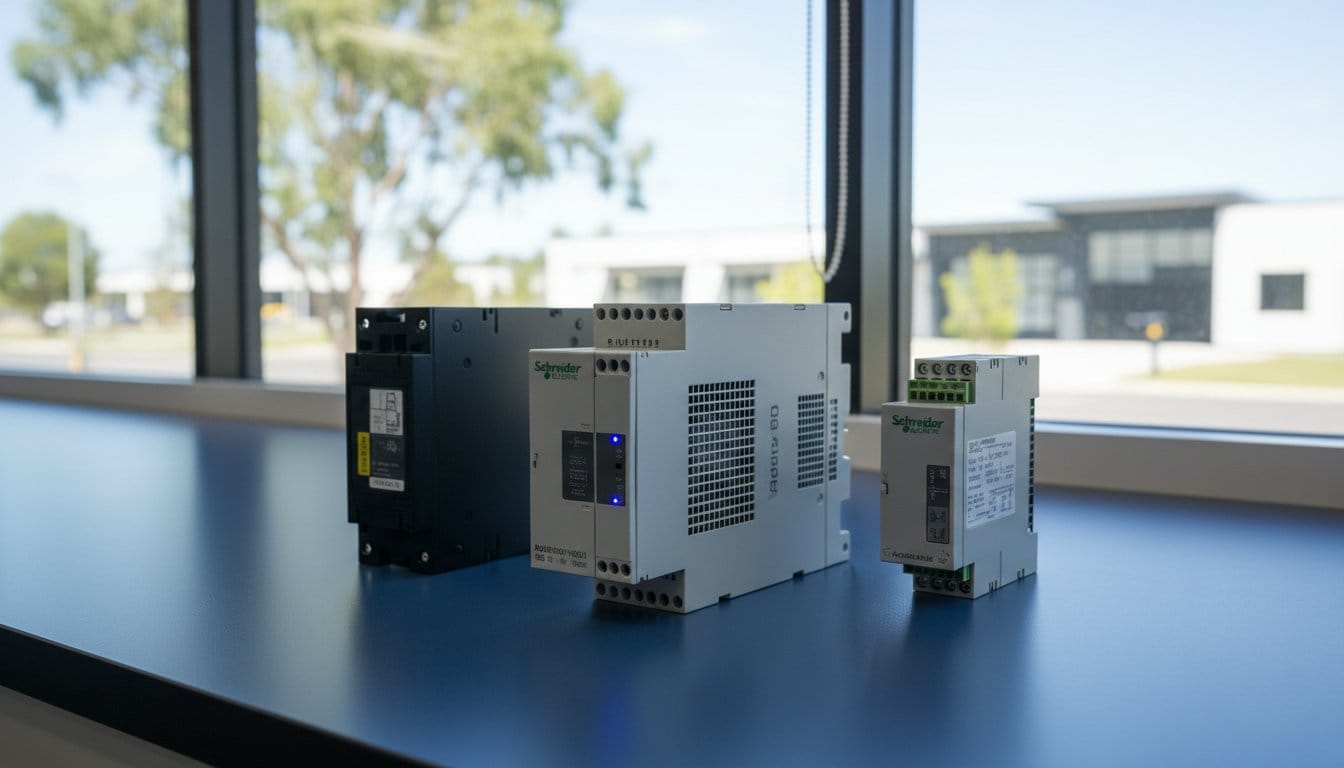
Why are Australian automation engineers still paying a 40% premium for versatile logic modules through traditional authorized distribution? It’s a…

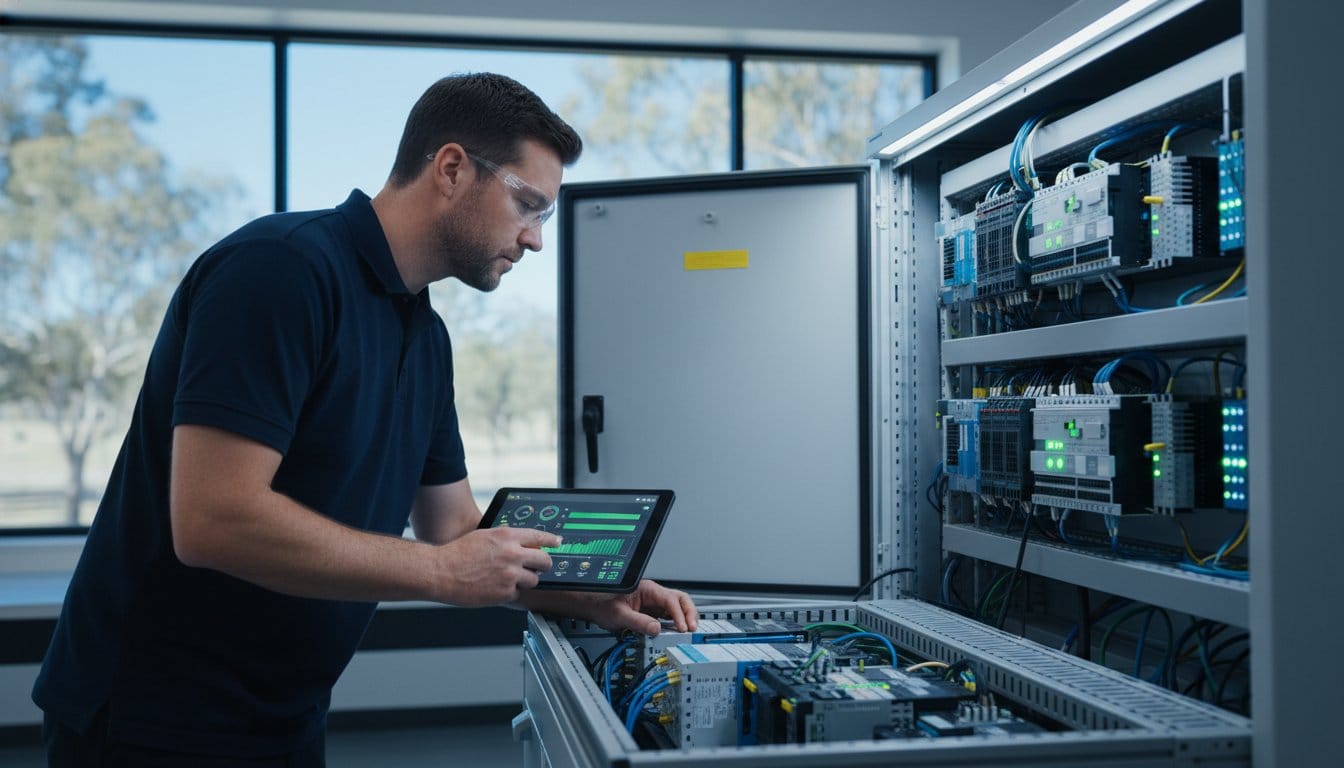
A single hour of unplanned downtime on an Australian production line can cost upwards of $22,000 in lost productivity when legacy components fail. If…
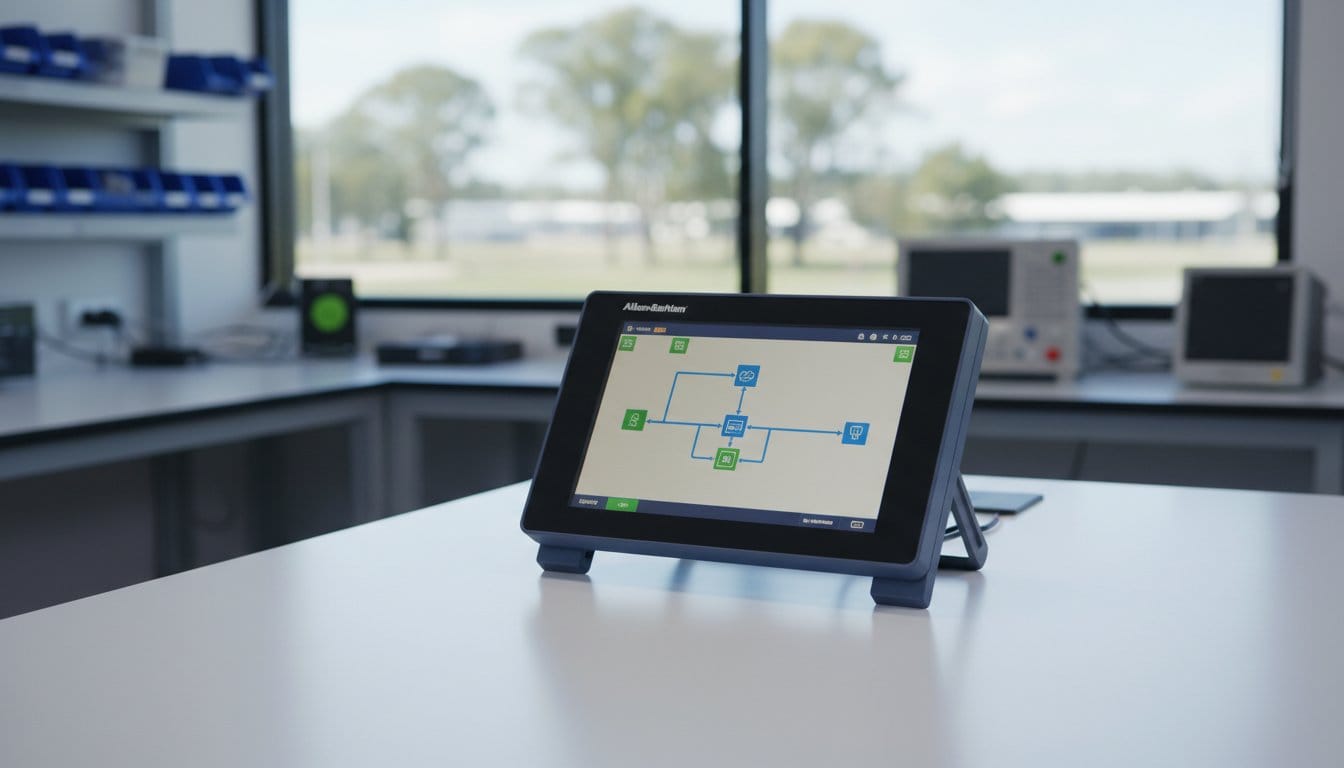
Why are you still paying a 40% “Australia Tax” on your HMI hardware just because of a local postcode? You already know the frustration of waiting 12…
Paying a 40% premium on a Modicon PLC just because it’s sourced through an “authorized” channel is a budget leak your project can’t afford in 2026….
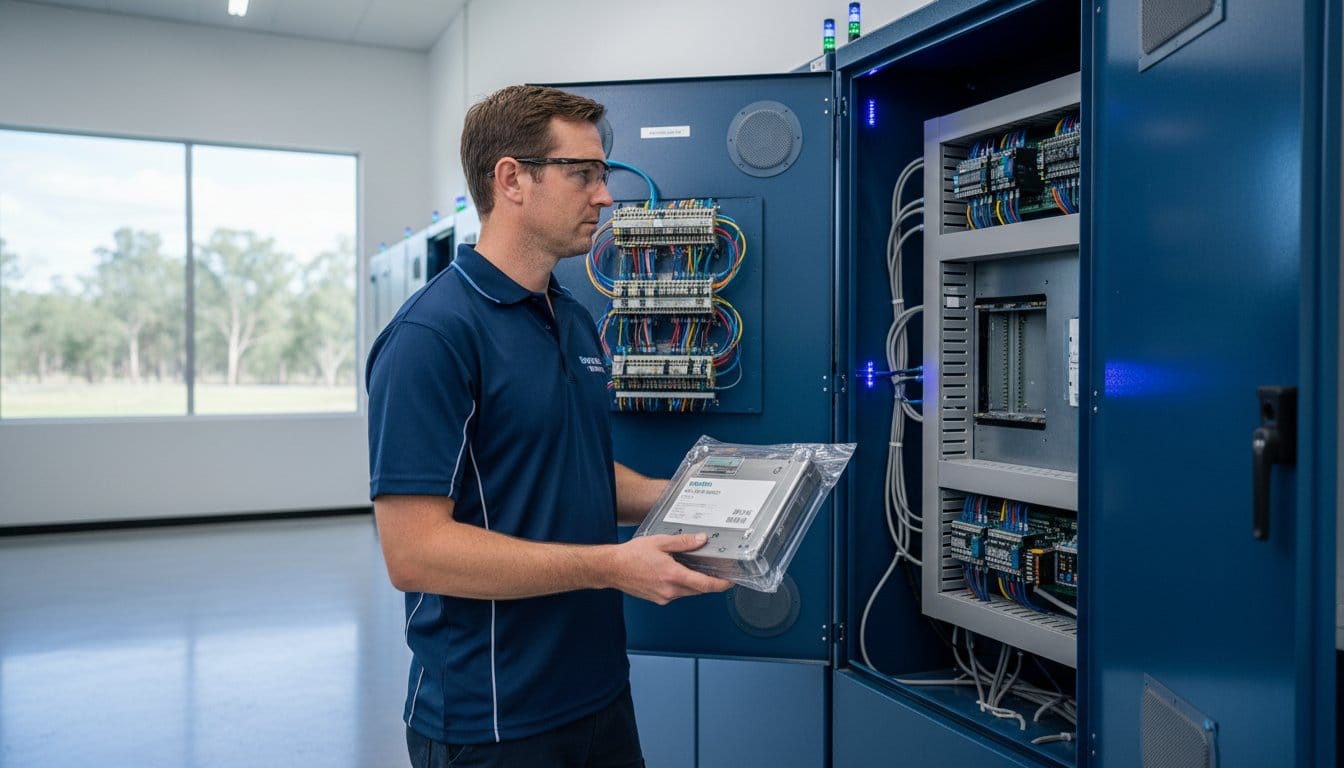
Paying a 40% markup to an authorized distributor does not guarantee your PLC will be back online any faster when a backplane fails. You have likely…
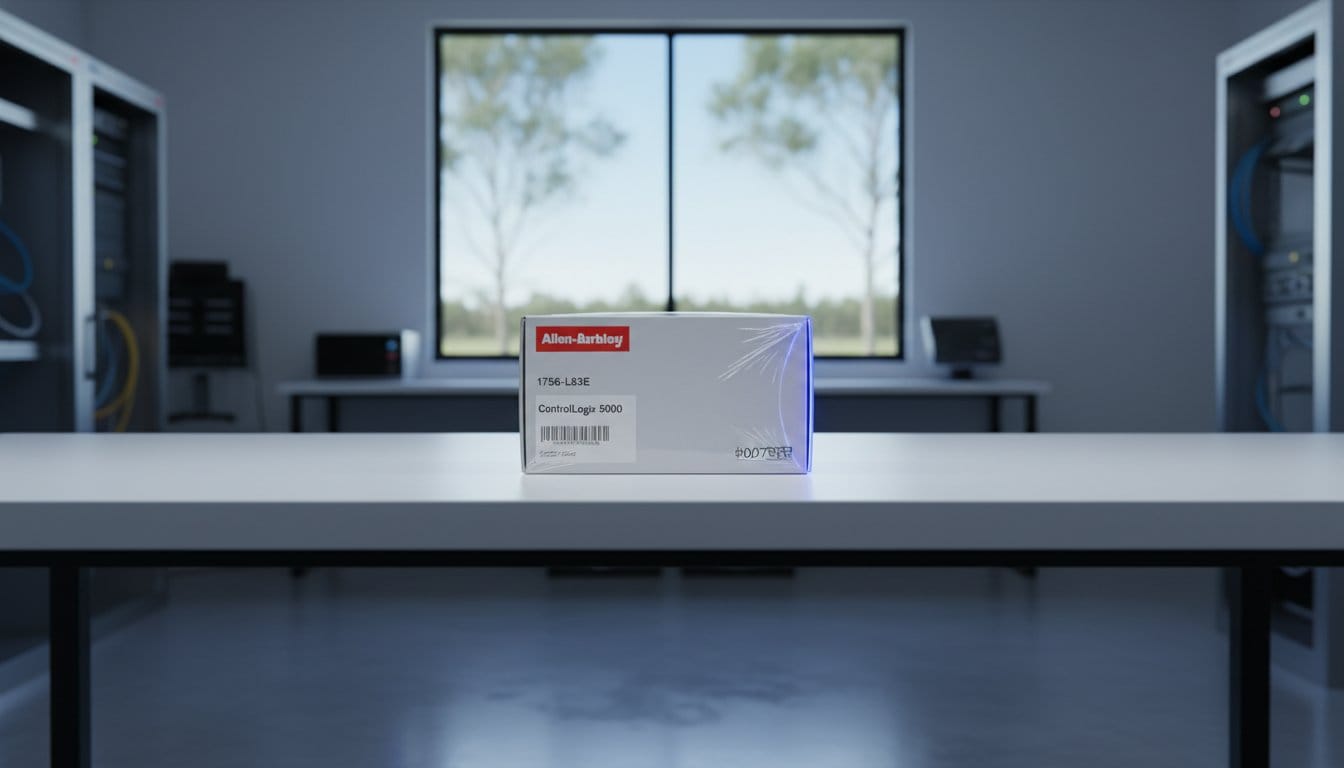
Waiting 26 weeks for a standard Allen-Bradley or Siemens PLC isn’t a supply chain reality; it’s a choice that costs Australian facilities upwards of…

A single counterfeit PowerFlex drive or a fake Allen-Bradley I/O module can wipe out A$50,000 in production value in a single shift. You know that…